

By Anne Gehrig, OSU Hood River County Extension Central Gorge Master Gardener Volunteer
When I was in second grade, our teacher challenged us to a seed-growing contest. I brought a marigold seed; my mother assured me it would be the fastest seed to sprout. For 2 weeks, the class watched anxiously as one seed after another emerged from the soil in the Dixie cups lined up along the classroom window sill. Every seed but mine. It was a humiliating experience, but it taught me there’s more to seed-starting than just plant-water-wait. Successful seed-starting depends on understanding seeds and the conditions in which they thrive.
Think of each seed as a tiny backpacker carrying enough food to survive the journey out of the soil and into the light. Whether it will reach its destination depends on age, health, availability of water, weather, and terrain–as anyone who’s hiked or backpacked knows. To maximize the chances for success, purchase high quality seeds and buy only what you need for one season. Like people, seeds lose vigor and vitality as they age–a fact that eluded my frugal mother when she sent me to school with a geriatric marigold seed.
Pots and flats don’t need to be newly-purchased though, as long as they are clean and sterile. Soaking them in a solution of 1 part bleach to 10 parts water should kill any lingering pathogens. Pots made from newspaper or toilet paper tubes are a sustainable alternative to plastic. Some gardeners prefer the convenience of peat pellets in which the medium is the container for the emerging seed. These minimize the chances of root disruption when transplanting. An economical alternative to pellets and plastic pots is to compact the medium into a sturdy cube using a soil blocker. Soil Blocking in Five Easy Steps – Cornell Small Farms
Soil blockers and paper pot makers are available for checkout through the Hood River County Library Tool Lending Program . These tools are managed by the Central Gorge Master Gardeners through generous donations from Ace Hardware and Master Gardener volunteers.
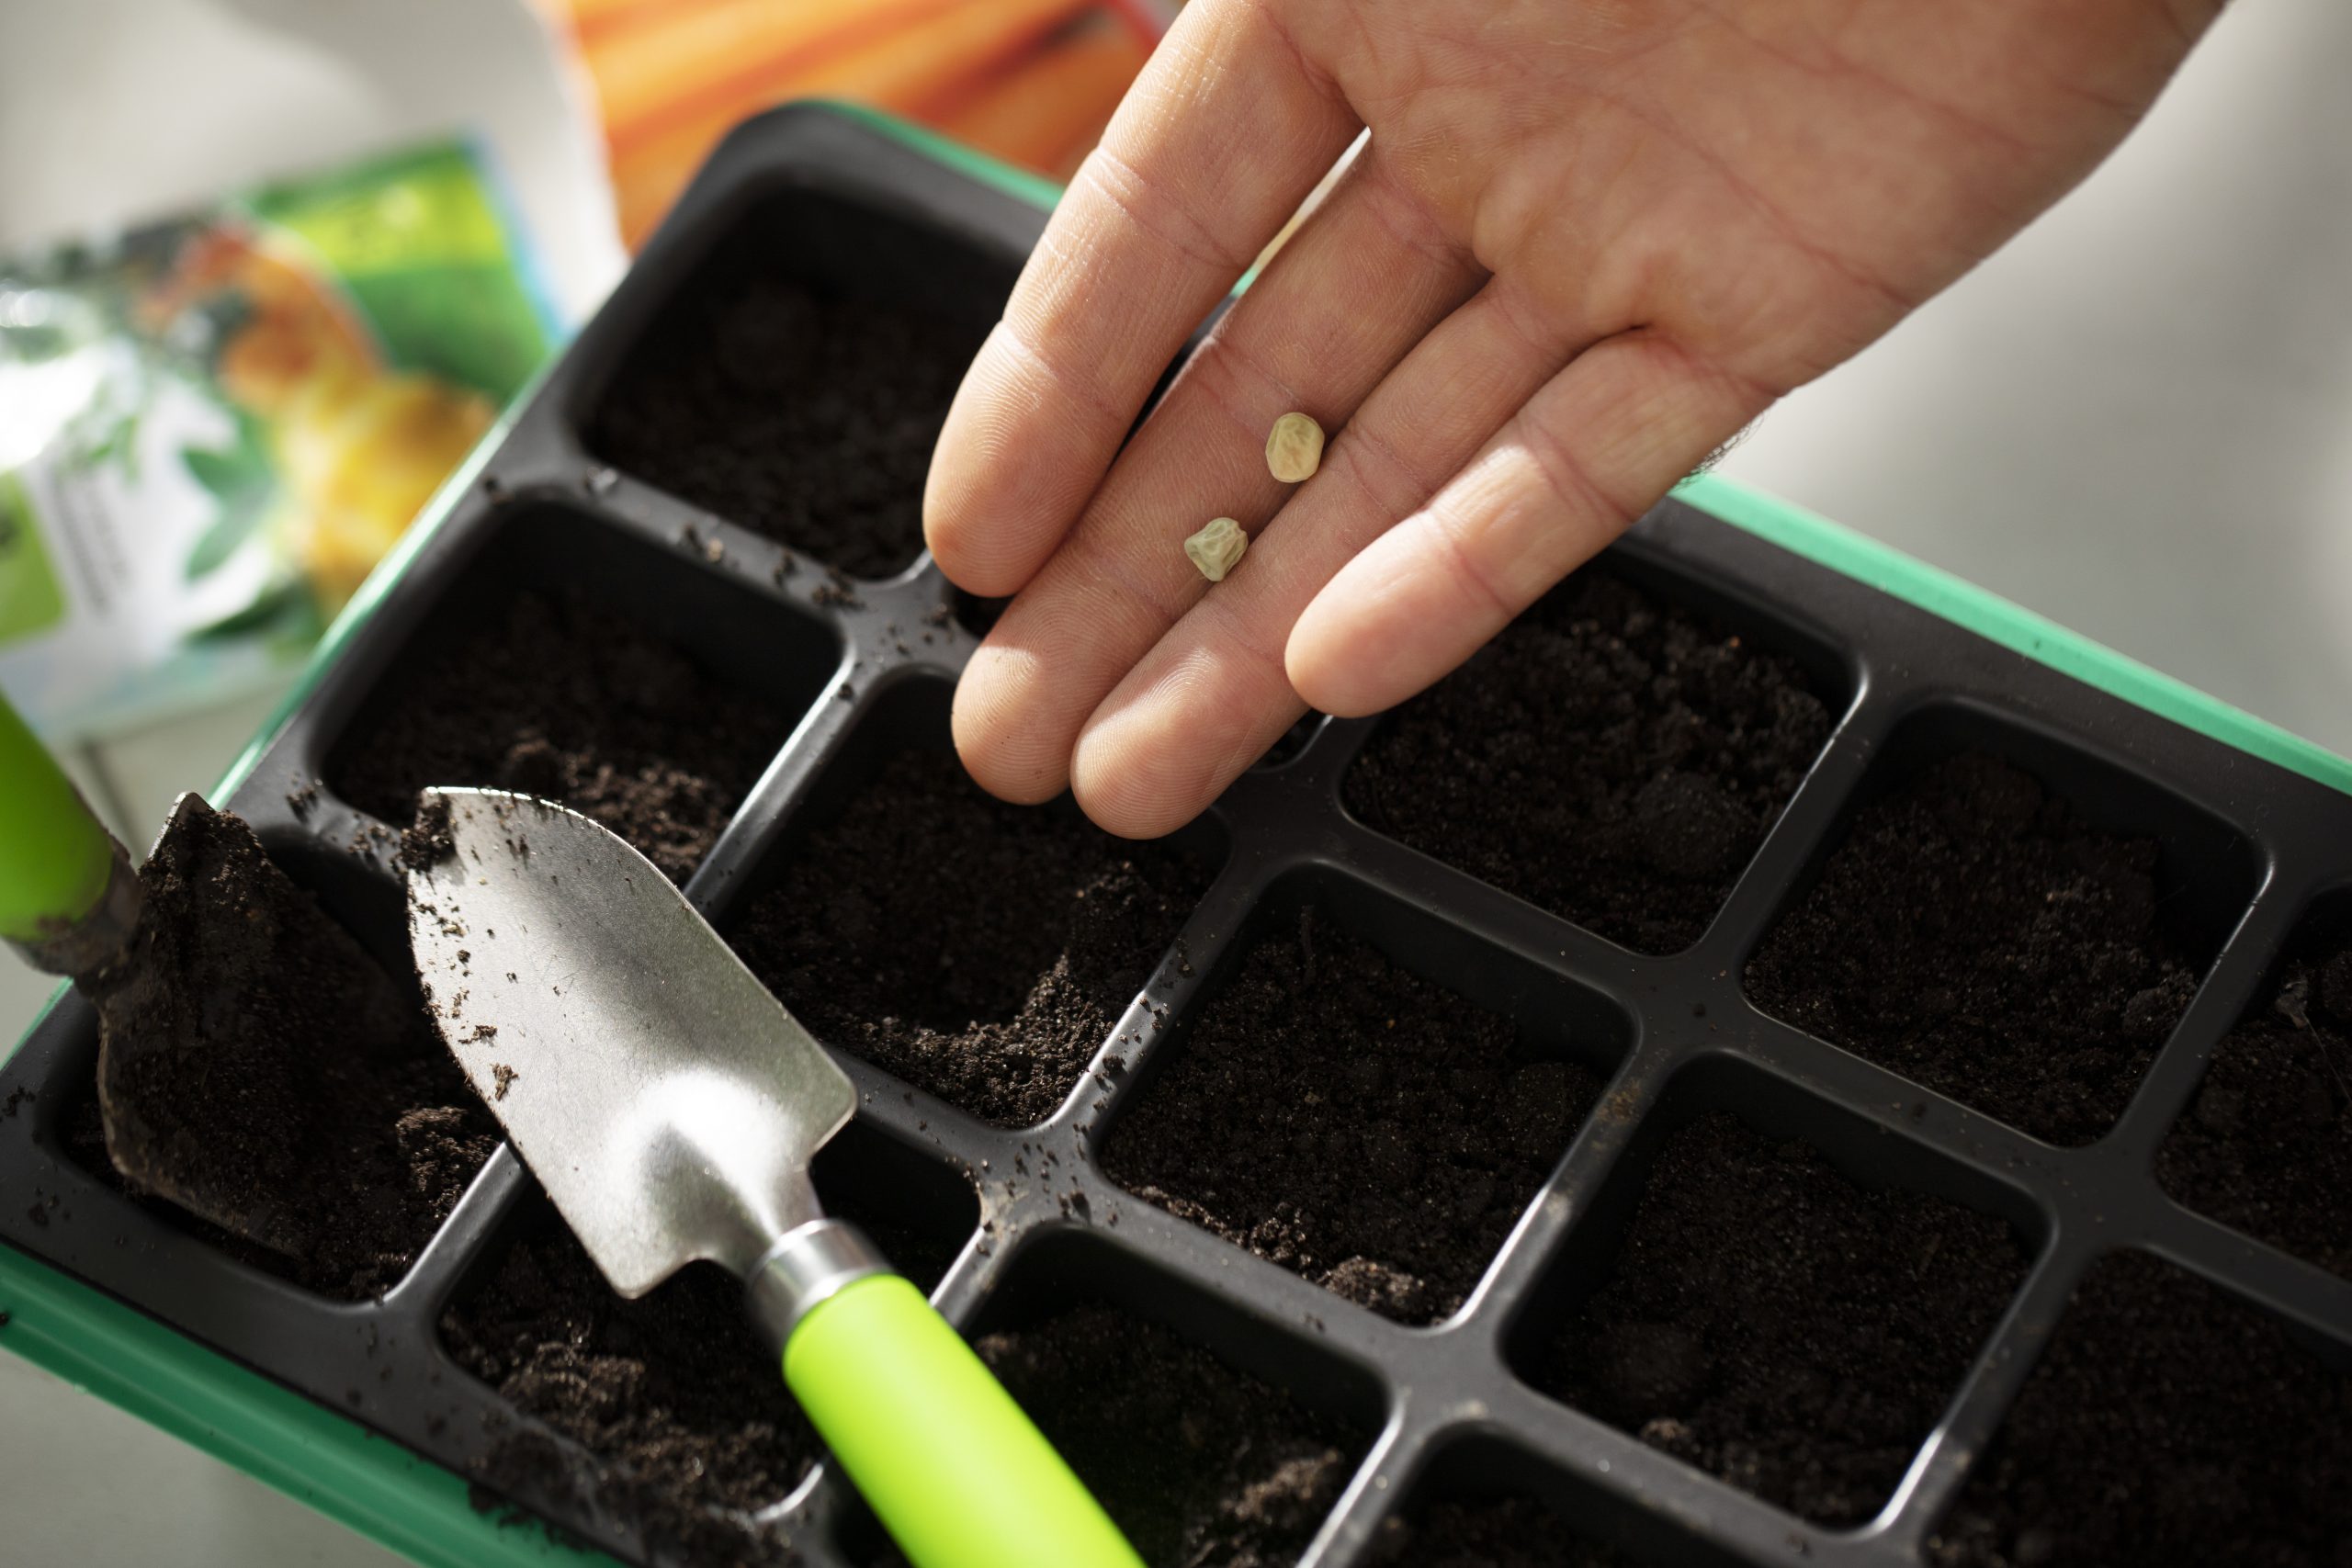
When starting seeds indoors, choose a seed starting mix rather than potting soil. Loose, lightweight, and sterile, these soilless mixes are the perfect “terrain” for emerging seedlings. Before you begin, wash your hands or don gloves to ensure your seeds get off to a disease-free start. Wet the mix thoroughly before planting; it should be as moist as a wrung-out sponge.
Fill the pots with the starting mix, tamping it down to remove any air pockets. Place a single seed in the center of each pot or pellet and cover with the planting medium. Be sure to follow the depth guidelines on the packet; seeds planted too deep may exhaust their reserves before they reach the surface. Spritz lightly with water and cover with plastic to keep the mix from drying out. Repurposed plastic clamshells from takeout food make excellent “greenhouses”, providing consistent moisture as the seeds germinate. Be sure to protect household surfaces by placing your pots or pellets on a shallow tray.
Most seeds prefer temperatures ranging from 60-68 degrees; placing the trays on a heat mat or a warm surface like the top of a refrigerator can aid germination. Avoid direct sunlight until the seedlings have emerged. Once they’ve sprouted, remove the plastic covering and place the plants under a grow light, making sure they are very close to the light source. If you don’t have a grow light, a south-facing window will work, as long as you rotate the plants a quarter turn each day to prevent them from becoming too leggy. A light breeze from a small fan can encourage stronger stem growth. Keep the growing medium moist but not wet. Wait until the top of the soil is dry before watering; soggy soil can contribute to damping off disease, a fungal infection that is lethal for young plants.
When seedlings have acquired two sets of true leaves, they may need to move to roomier quarters. Now is the time to switch to a potting mix, which has more nutrients and is sturdy enough to support growing plants. Pellets and soil blocks can be placed directly in a pot filled with potting mix. Plants in cells or small pots should be removed gently to minimize root disruption. In this video, Master Gardener Paul Matalucci gives tips for successful up-potting.
Before moving your plants to their summer home, give them time to acclimate to the outdoor environment by placing them in a shady spot for a few hours each day and gradually increasing their exposure to sunlight over a 7-10 day period.
Knowledge of seeds’ needs and good planting practices can spell the difference between a healthy seedling and a Dixie Cup disaster.
For more information and hands-on experience with seed starting, please join the Central Gorge Master Gardeners for the first of our Garden Gathering Workshops this year. Two sessions of the Garden Gathering Seed Starting presentation will be held at different times and locations. The same information will be offered at each session.
- Saturday, March 8, 10:00 AM at the OSU Hood River County Extension, 2990 Experiment Station Drive, Hood RIver, OR.
- Tuesday, March 11, 6:00 PM at the Hood River Library, 502 State Street, Hood River, OR.
Central Gorge Master Gardener volunteers provide free beginning gardening classes and continuing education to home gardeners. For research based information about specific gardening or pest questions, submit your concern online at extension.oregonstate.edu/mg/hoodriver or by phone at 541-386-3343. Home gardeners can also drop off plant or pest samples Monday – Thursday between 9 AM and 4 PM at the OSU Hood River County Extension Service, 2990 Experiment Station Drive, Hood River, OR.
The Central Gorge Master Gardener program is a division of the OSU Hood River County Extension Service. OSU Extension Service prohibits discrimination in all its programs, services, activities, and materials.
Leave a Reply