
Starting Seeds for a Bountiful Harvest
By Margo Dameier
OSU Hood River County Extension Central Gorge Master Gardener volunteer
Spring has officially arrived! Our daylight hours are now longer than those of our nights, overnight lows are more frequently above freezing, and area gardeners have serious cases of spring fever. These warmer and sunnier days are luring us all outdoors to work the soil and get started on our gardens. But wait! It’s still a bit early for most seeds to be happy in the cool and damp soil temperatures outdoors. There are some exceptions, and I’ll cover that later in this article. However, before we dive into the topic of Seed Starting, I’d like to remind you of last month’s article in the Home and Garden section of the Columbia Gorge News on Seed Selection by my fellow Central Gorge Master Gardener volunteer, Anne Gehrig. Her article can be found online at Making Sense of Seed Selection | Free News | columbiagorgenews.com. Our articles go hand-in-hand, and I’ll be building on the information that she covered. Next month, we welcome a new Master Gardener volunteer to the CGMG Educational Writing Crew. Sarah Smeby will continue to build on this theme by covering Succession Planting. Thanks for reading these articles from Central Gorge Master Gardeners and happy gardening!
Soil temperature is key to seed germination
While growing up on a farm in Northern Illinois, I was fortunate to have the guidance of my Great Aunt Bertha who lived on the other side of an alfalfa field from the farmhouse where I was raised. My Great Uncle Henry kept a path mowed through the middle of this field so that I could walk over any time I wanted to visit. And visit I did! Aunt Bertha nurtured my love of plants and taught me basic gardening skills that were built on as I grew.
One of the first lessons I learned from Aunt Bertha was that seeds have a minimum soil temperature needed to germinate in your garden, and it’s important that you know what that is. If you’re buying seeds, this information is on the back of your seed package. If the soil is too cool for the type of seed you’re planting, the seed will remain dormant until the soil warms up. This puts your seed at risk of rotting in the cool and wet soil. I was taught to place my hand on the soil and leave it there long enough to sing the birthday song. If my hand was still warm at the end of the song, the soil was warm enough to plant seeds. Nowadays, we have soil thermometers that are much more accurate. If you don’t have a soil thermometer, I suggest that you buy one at your local garden center or hardware store. It’s a tool you’ll use often this time of year, and it will serve you for years to come. Soil thermometers and other gardening tools are also available to borrow from the Tool Library at the Hood River County Library. All you need is a library card. The Tool Library is made possible through a cooperative effort between the Hood River County Library, Hood River Supply and the Central Gorge Master Gardener Association.
When checking your garden soil temperature, be sure to measure it in several areas of your garden at different times of the day. Once your temperatures are consistently in the range of your seeds’ preference and the last frost date has passed, it’s safe to plant outdoors. Your type of garden also can affect soil temperature. Soil in raised beds tends to warm up faster than that in a traditional in-ground garden, and the soil near the outside of the raised bed is often warmer than in the center of the bed, especially early in the season.
Some plants that we direct sow in the garden prefer cooler soil temperatures. The first crops I plant outdoors in the spring are peas and onions. Both of these vegetable seeds will gladly germinate in 34-36 degree soil temperature and will benefit from a thick layer of mulch after planting. You can also germinate your seeds indoors first to reduce germination time outdoors. Simply soaking them briefly (a couple of hours) in water will give them a head start before planting them in the soil. Onion seeds have a very short shelf life, so be sure to buy and plant fresh seeds each year. Older seeds can result in plants with less vigor and yield. The next vegetables to be planted outdoors are cabbage at 38-40 degrees and potato and carrot at 39-41 degrees. Wait a while longer before planting bean and radish seeds as they prefer a minimum soil temp of 48-50 degrees. Here’s a handy publication from OSU that I keep in my garden shed as a reminder of optimal conditions for each crop I’m planting. https://extension.oregonstate.edu/gardening/soil-compost/soil-temperature-conditions-vegetable-seed-germination Checking the soil temperatures in your garden will dictate your planting times.
Planting depth matters
Planting your seeds at the proper depth for your soil conditions is also important. In sandy soil or soil that’s high in organic matter, plant at a depth of four to five times the width of the seed. If your soil is heavy, plant the seeds two to three times their width and top the planting area with ¼ inch of fine compost. This will help to retain soil moisture and allow the seeds to push through the soil more easily.
How to trick seeds into germinating sooner than they had planned
Some seeds need to be scarified before planting. Scarification involves weakening, opening or altering the seed coat to encourage germination. Scarifying effectively breaks dormancy of the seed by allowing water to enter through the seeds’ hard outer coating. Seed dormancy prohibits the seed from germinating, even when germination conditions are ideal. This is Mother Nature’s way of making sure the seeds won’t germinate until conditions for their survival are present. As gardeners who want earlier harvests, it’s our job to trick Mother Nature, and scarification is our tool.
The scarification process can be as simple as scratching the seed on sandpaper or cracking seed coats with light pressure of a solid object, briefly soaking the seeds in hot water, or exposing them to fire. Please leave the fire option to Mother Nature as gardeners can easily use the other aforementioned methods. An example of fire as a scarification technique is found in the cones of the Ponderosa Pine where seed pods will open up and germinate after a forest fire. However, we’re talking about vegetable seeds in our gardens here, not germinating a Ponderosa Pine. Many legumes have a hard seed coat, and scarification will not only help to break their dormancy, but could offer a greater germination rate in your garden. To give your plants a two- to four-week head start, use protection methods that are covered in the WSU Skagit County Extension article on Season Extenders by Hallie Kintner, Skagit County WSU Extension Master Gardener, Season Extenders | Wsu
Start warm season crops indoors for an earlier harvest
Tomatoes are happiest in warmer soil conditions and prefer 50-55 degrees for germination. Pepper, eggplant, and melon like an even warmer soil temperature of 55-60 degrees. Consider starting these indoors for an earlier harvest. Using a packaged seed starting mix will give your seeds the best opportunity to become seedlings, but you can save money by making your own seed starting mix too. Master Gardener Community Horticulturist Brooke Edmunds goes into more detail in this article from OSU. Set seeds on the right path with homemade planting medium | OSU Extension Service. For a ten-minute explanation on the basics of seed starting, check out this video featuring Central Gorge Master Gardener Paul Matalucci. https://media.oregonstate.edu/media/t/1_6pzfvq9c. And here’s a handy chart showing when to start your seeds, When to start seeds indoors in Oregon | OSU Extension Service. Notice that the timing of seed starting is tied to the last frost date for your area. Our last frost dates range from May 29 in Trout Lake and May 22 in Parkdale to April 28 for Hood River/White Salmon and April 19 for The Dalles. Those of you in Cascade Locks/Stevenson enjoy an early last frost date of March 31. Since we live in an area with multiple microclimates, these dates may need to be adjusted.
Starting seeds allows you to choose from a variety of cultivars and Heirlooms to suit your specific growing conditions and taste preferences. It’s also a thrill watching the seeds emerge from the soil and grow into healthy seedlings. Starting seeds is a great activity to do with the young people in your life… like my Aunt Bertha did with me. She was a lifelong gardener, and sprouted another lifelong gardener. I looked forward to seeing the seeds sprout and grow, but harvesting lettuce for our summer salad lunches to go with her homemade bread and freshly churned butter was what I really looked forward to. But, you’ve got to plant the seeds first.
You don’t need to spend a lot of money on seed-starting supplies. Egg cartons and yogurt cups work well as long as you poke holes for drainage. Peat pellets are another option for seed starting. Just soak them in water, plant the seed in the top, keep moist and watch it grow. Seed starting trays with clear-plastic dome lids are popular, easy to use, and can be reused. Just be sure to sterilize them before reuse.
Water and supplemental light
Start with a moistened seed starting mix. Gradually add water to the seed starting mix, stopping to check it often. Grab a palmful of soil mix and close your hand around it. If it holds together, the right moisture level has been reached. Place your moistened seed starting mix into your tray and gently press down on the soil in the individual cells to remove pockets of air that may have become trapped. Small seeds like tomatoes are challenging to work with. A great way to plant these tiny seeds is by dampening the end of a chopstick for use in picking up individual seeds before transferring to the seed starting pots. After seeding your tray, covering the top of the seed starting mix with a light layer of vermiculite will help to retain moisture. Use a spray bottle to mist your trays and place the clear dome lid that came with your seed starting kit over your planted seed tray. As moisture evaporates, the lid will catch it and rain will fall onto your planted seeds. Placing seeded trays on seed-starting mats will bring the soil up to the proper temperature for germination. Be sure to monitor the temperature and moisture frequently. Just like the soil in your garden can vary from one spot to another, areas of the seed starting tray will be warmer and dryer, or cooler and wetter than others. Strive to achieve an even environment for all of your seeds.
As your seedlings emerge from the seed-starting mix you’ll notice their first leaves, called cotyledons. The leaves that appear after the cotyledons are the true leaves and are a sign that the roots are forming well. Continue to keep them moist and warm and make sure they’re getting enough light. Adequate light is important so that your seedlings don’t become leggy and weak. Without enough light, when they’ve grown to about 3 to 4 inches high, you’ll start to see them fall over. One way to alleviate this is to provide supplemental lighting. A fluorescent shop light that’s fitted with two cool white bulbs works well. You can either turn the lights off between sunset and sunrise to mimic nature, or give them extra light in the morning and evening to trick them into thinking it’s later in the spring than it is. Remember that even a sunny south facing window used for seed starting needs additional light.
Transplanting time
After the true leaves of your seedlings are mature, you can transplant (also called ‘up pot’) them into larger pots. Do this by moistening any good potting soil and placing it into a 3 ½” pot. Don’t fill it to the top as you need to leave some room for the roots and seeding mix that supports your seedling. Make a hole in the center of the potting soil with your finger. Remove your seedling from your germination tray by turning it upside down over one hand while gently squeezing the button of one cell. Allow the seedling and its soil to drop into your hand and gently place it in the 3 ½” pot. Lightly press the soil on the outside of the pot so that it tucks around the roots of your seedling. Spray water on your seedlings from above to clear any soil off the leaves and gently add a bit more water to the soil. To demonstrate this, Central Gorge Master Gardener, Paul Matalucci shows you how to up pot your plants in this video. https://media.oregonstate.edu/media/t/1_srvqouu8
Once up potted, your young seedlings still need more time to grow indoors, but no longer need to be kept on a heat mat. Prior to planting your plants in the garden, harden them off by setting them outside in the sun and a gentle breeze (provide a protected area if you live in one of the many windy areas of the Gorge) for 15 to 30 minutes per day to start, then a bit longer each day. This will acclimate your plants to natural sunlight and the elements that they will be living in all summer.
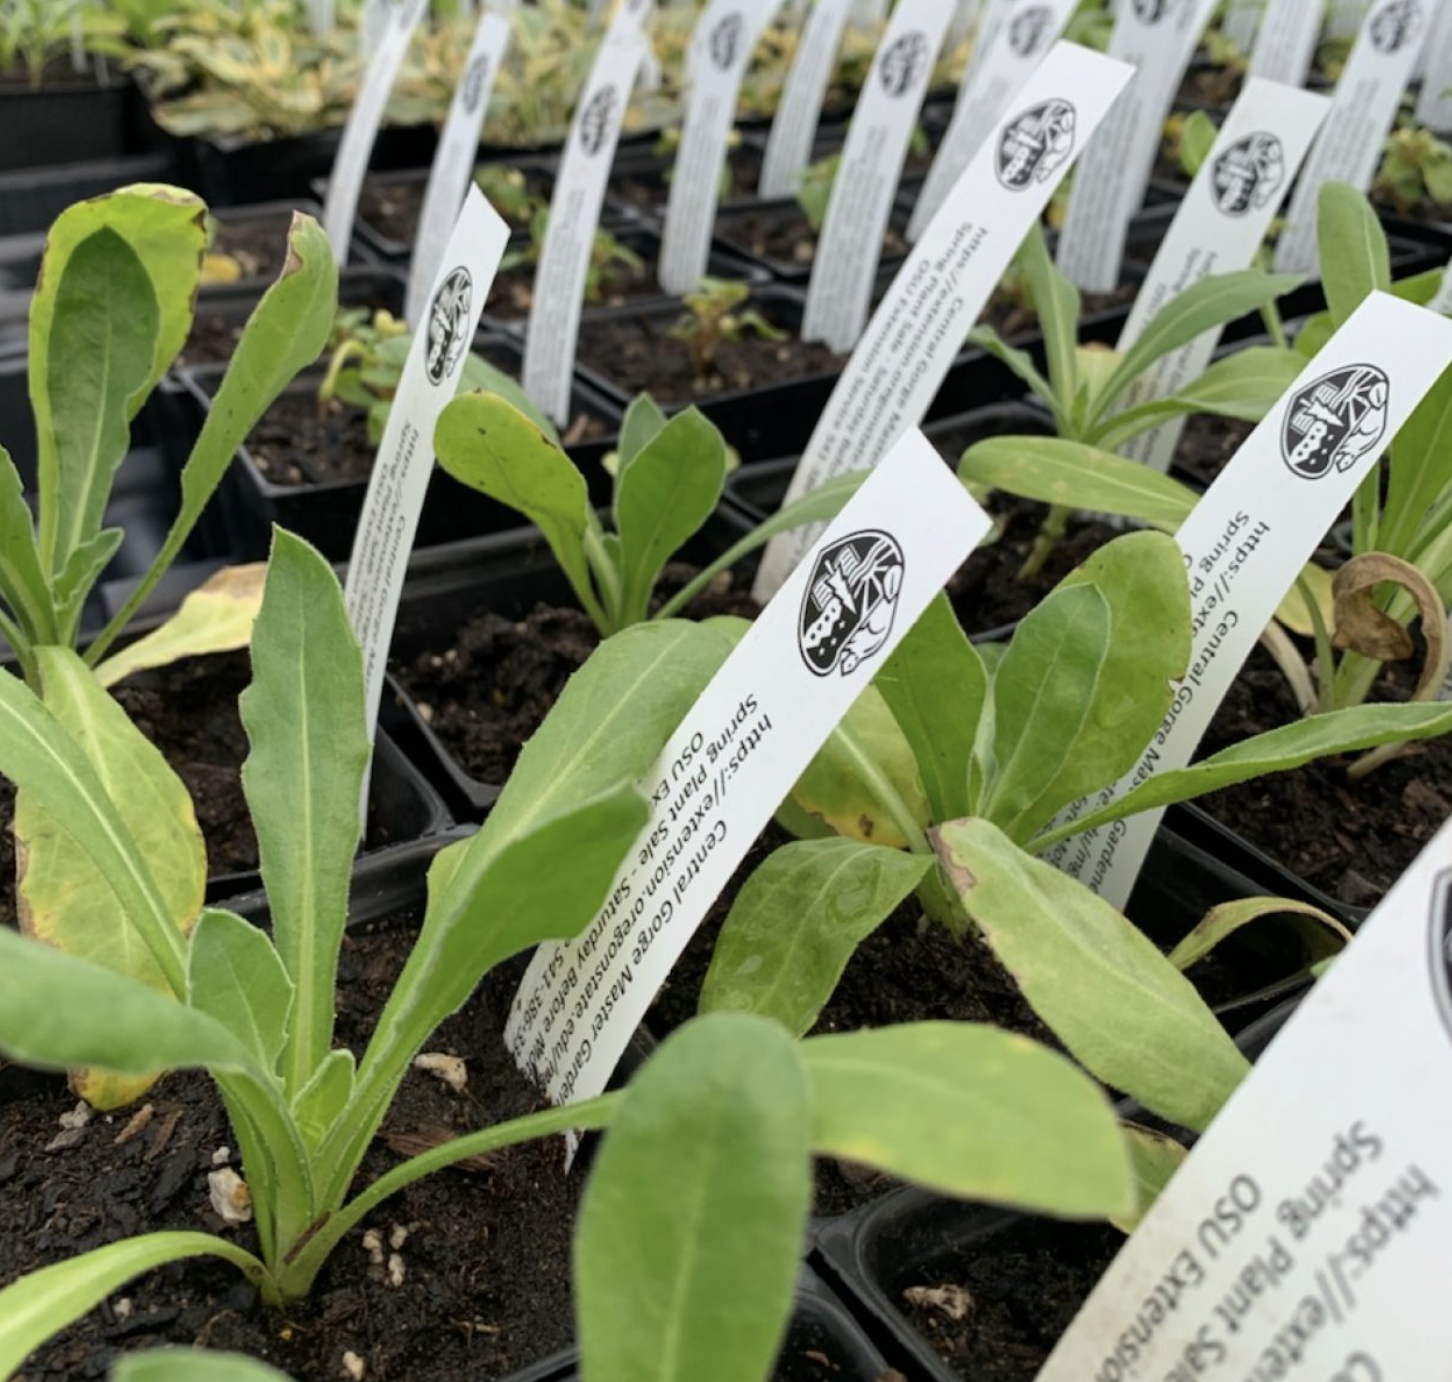
Come to the Master Gardener Plant Sale
I hope that you have great success with starting your plants from seed, but if you’d rather leave the seed starting to someone else, Central Gorge Master Gardeners will again be holding a Spring Plant Sale with two ways to purchase plants.
- Order Online at CGMGAMarketplace.myshopify.com. The online sale is open April 1-30 with plant pick up on Friday, May 10, 1- 6PM at the Master Gardener Greenhouse, 2990 Experiment Station Road, Hood River, OR. Total online orders are limited to half of the plant inventory. The remaining inventory of plants will be available for sale at the Plant Sale on May 11.
- Come to the In Person Plant Sale on Saturday, May 11, 9AM -1PM at the Master Gardener Greenhouse, 2990 Experiment Station Road, Hood River, OR. To view the plants that will be awaiting your arrival, view the inventory online. If you see a variety listed as sold out, there will be more available at the In Person Plant Sale. Come early for the best selection!
Central Gorge Master Gardener volunteers provide free beginning gardening classes and continuing education to home gardeners. For research based information about specific gardening or pest questions, submit your concern online at extension.oregonstate.edu/mg/hoodriver or by phone at 541-386-3343. Home gardeners can also drop off plant or pest samples Monday – Thursday between 9 AM and 4 PM at the OSU Hood River County Extension Service, 2990 Experiment Station Drive, Hood River, OR.
The Central Gorge Master Gardener program is a division of the OSU Hood River County Extension Service. OSU Extension Service prohibits discrimination in all its programs, services, activities, and materials.
Leave a Reply