
Planting your vegetable starts
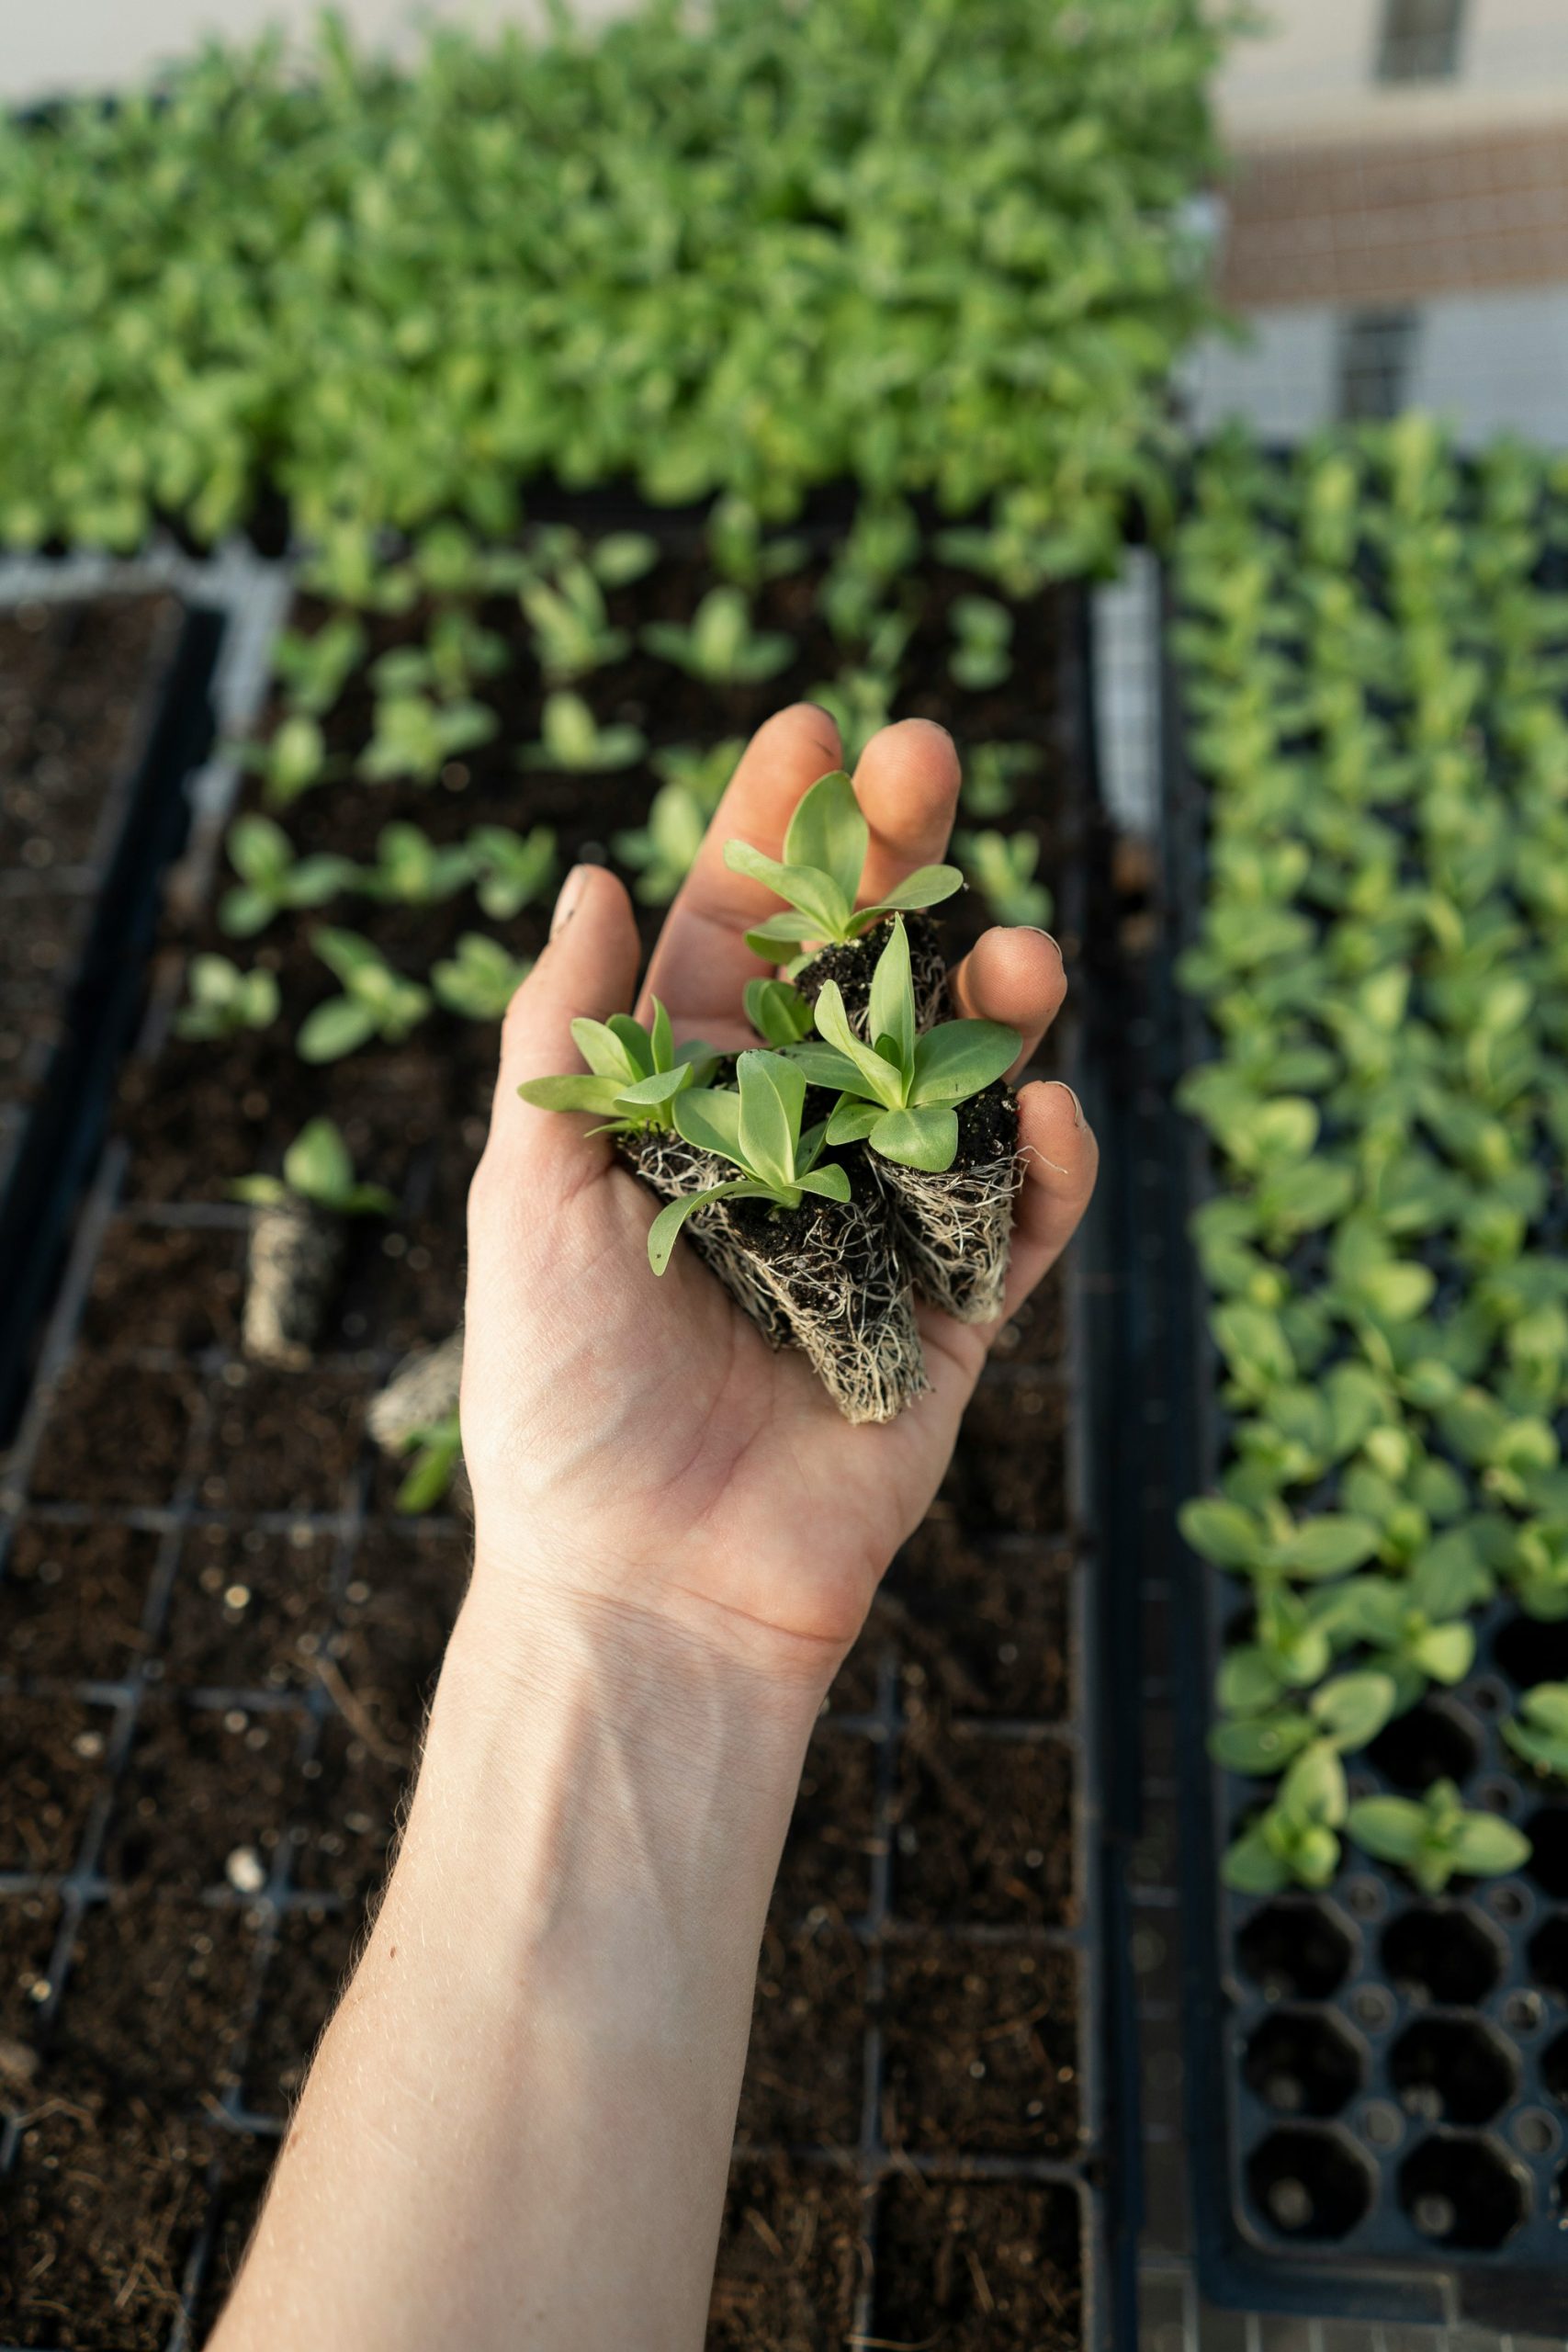
Photo by Zoe Schaeffer
Planting vegetable starts can be one of the most rewarding parts of gardening! Moving the small plants into the ground is a crucial step in creating a bountiful harvest. If you’ve read the last few articles from the Central Gorge Master Gardener Volunteers, you may have already successfully selected seeds, prepared your seed starting medium, created the perfect environment, and watched (im?)patiently for those first leaves to appear on your veggie starts! Then, if you are anything like me, you’ve fussed over your baby plants, carefully nurturing them with just the right amount of water, sun, and love. . . or maybe you purchased yours from the Central Gorge Master Gardener Plant Sale!
Regardless of how you got them – you have trays full of plants that feel ready to burst out of their pots. Now what?
Hardening off
When you are ready to move your seedlings into the ground, the first step is to get them used to being outside. The process is called hardening, or hardening off, and it will help the success of your plants once you put them in the ground in a few ways. A slow introduction to outdoor stresses will cause your seedlings to accumulate carbohydrates, stimulate root development, thicken the cell walls, and will reduce the amount of freeze-prone water in the plant. You’ll see your seedlings change from soft and flexible to firmer and harder.
To harden off your seedlings, bring them outdoors during the sunny days for a few hours at a time. Increase the time outside each day. You’ll want to select a sheltered location without too much direct sunlight. Over about two weeks you’ll build up the time they spend outside from 2-3 hours until the last couple of days when you can leave them out for the entire 24-hour period.
Pay close attention to your weather, temperatures should be at least 45-50 degrees Fahrenheit while your seedlings harden.
Location in your garden
While your plants are hardening off, it’s a great time to decide where in your garden each of them will go. There are a few things to consider:
- Companion planting: you can really dive deep into the companion planting pool of knowledge; it is fascinating and can certainly help get the most from your garden! For the purposes of this article, I will list only a few considerations:
- Plants with taproots or tubers (carrots, radishes, potatoes) can help break up soil structure and prevent compaction.
- Deep rooted plants (melons, tomatoes etc.) pull nutrients and water from deeper in the soil. Planting some of these alongside medium, and shallow rooted plants will maximize the vitality of your soil and reduce the amount of water needed to irrigate your garden.
- Legumes help amend the nitrogen in your soil and reduce overall fertilizer needs for plants that crave nitrogen.
- Corn can support squash plants as they climb, and squash plants can deter animals who love to snack on corn.
- Companion planting pollinator friendly flowers can help keep plants healthy and increase your yield. It is an excellent way to encourage lots of pollinators to your garden as well as to deter pests.
- Succession planting: planting in succession really does overlap with companion planting strategies. The idea being to plant new crops that will begin to mature as the earlier maturing plants are ready for harvest. An example here is to direct sow seeds for early season options like lettuce, spinach, or even beets and as those plants are nearing maturity and you prepare for harvest, you can place your peppers, tomatoes and other later season crops in between the rows. This will allow you to maximize space and yield.
- Physical space constraints: considering companion planting, succession planting, and thinking ahead to how large each mature plant will be is one of the most challenging aspects of vegetable gardening for me. We always aim to fit as many plants into our beds as possible, while still ensuring each one has the right amount of room to thrive. This is where your seed packet instructions really come in handy! Make sure you create enough space for each seedling’s mature size in your garden. Maximizing space with trellising and strategic placement can be helpful.
- Aesthetics: there is no doubt this is a subjective topic! I know we’ve all walked by our friends’ and neighbors’ gardens and thought of how beautiful they are! As you plan where to plant your seedlings, consider the gardens you’ve seen that you consider beautiful. Trellising can add not only beauty, but ease of harvest! I remember marveling at a good friend’s green bean trellis as a beautiful arbor as you entered her garden. It also offered ease of picking, as all the green beans hung through the trellis for easy picking (and snacking) as you walked through the garden! I’d never thought of green beans as a centerpiece like that! Another aesthetic option is to companion-plant flowers. Not only do they offer color and beauty, but many flowers can help with pests.
Planting your seedlings
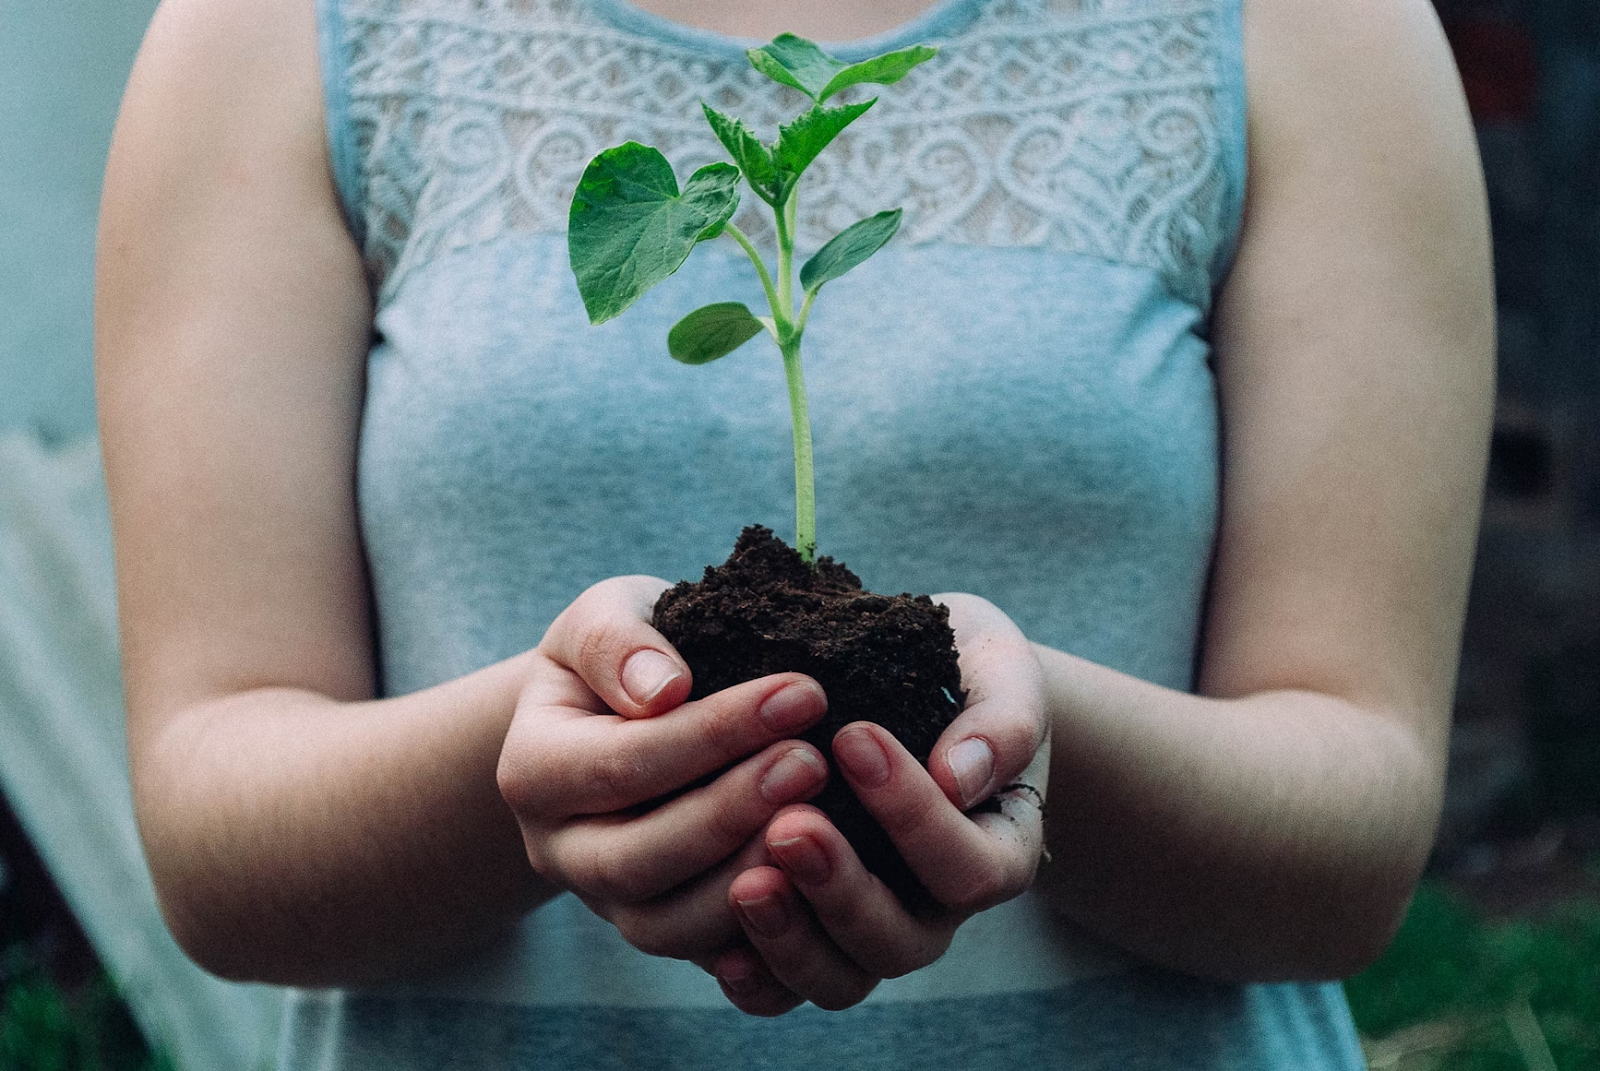
Photo by Nikola Jovanovic on Unsplash
Finally! You’ve hardened your seedlings, planned where they will go and you are ready to plant!
Timing is crucial when planting your garden. There is nothing worse than getting all your plants into the garden and then losing them to frost. So be sure to check the USDA plant hardiness Zone map, linked with the QR code below, as well as refer to your seed packet or plant insert. It is best to transplant your seedlings on a mild, overcast day. Cloudy days will draw less moisture from the plants and make the transition less stressful. Make sure the plants have been watered well. Dig a hole slightly wider and deeper than your plant’s root ball, it should be deep enough that the entire root system is just under the soil. Add fertilizer to the hole and mix in with the soil at the bottom.
Gently remove the plant from the pot. Tapping on the bottom or gently squeezing the sides of the container can help for plants that feel “stuck” and place it into the prepared hole. Gently backfill with loose soil. Once all your plants are in the garden, water them thoroughly, and step back to admire your work! You’ll want to keep them moist for at least the first week while they transition.
Link to the USDA Plant Hardiness Zone:

Link to more information on vegetable planting in Oregon:

Central Gorge Master Gardener volunteers provide free beginning gardening classes and continuing education to home gardeners. For research based information about specific gardening or pest questions, submit your concern online at extension.oregonstate.edu/mg/hoodriver or by phone at 541-386-3343. Home gardeners can also drop off plant or pest samples Monday – Thursday between 9 AM and 4 PM at the OSU Hood River County Extension Service, 2990 Experiment Station Drive, Hood River, OR.
The Central Gorge Master Gardener program is a division of the OSU Hood River County Extension Service. OSU Extension Service prohibits discrimination in all its programs, services, activities, and materials.
Leave a Reply